Starting seeds in grow bags can be a rewarding and efficient way to kick off your gardening season. Grow bags are versatile, easy to handle, and provide excellent drainage, making them an ideal choice for seed starting. In this blog post, we’ll explore effective techniques for using grow bags to ensure optimal growth for your young plants.
Choosing the Right Grow Bags
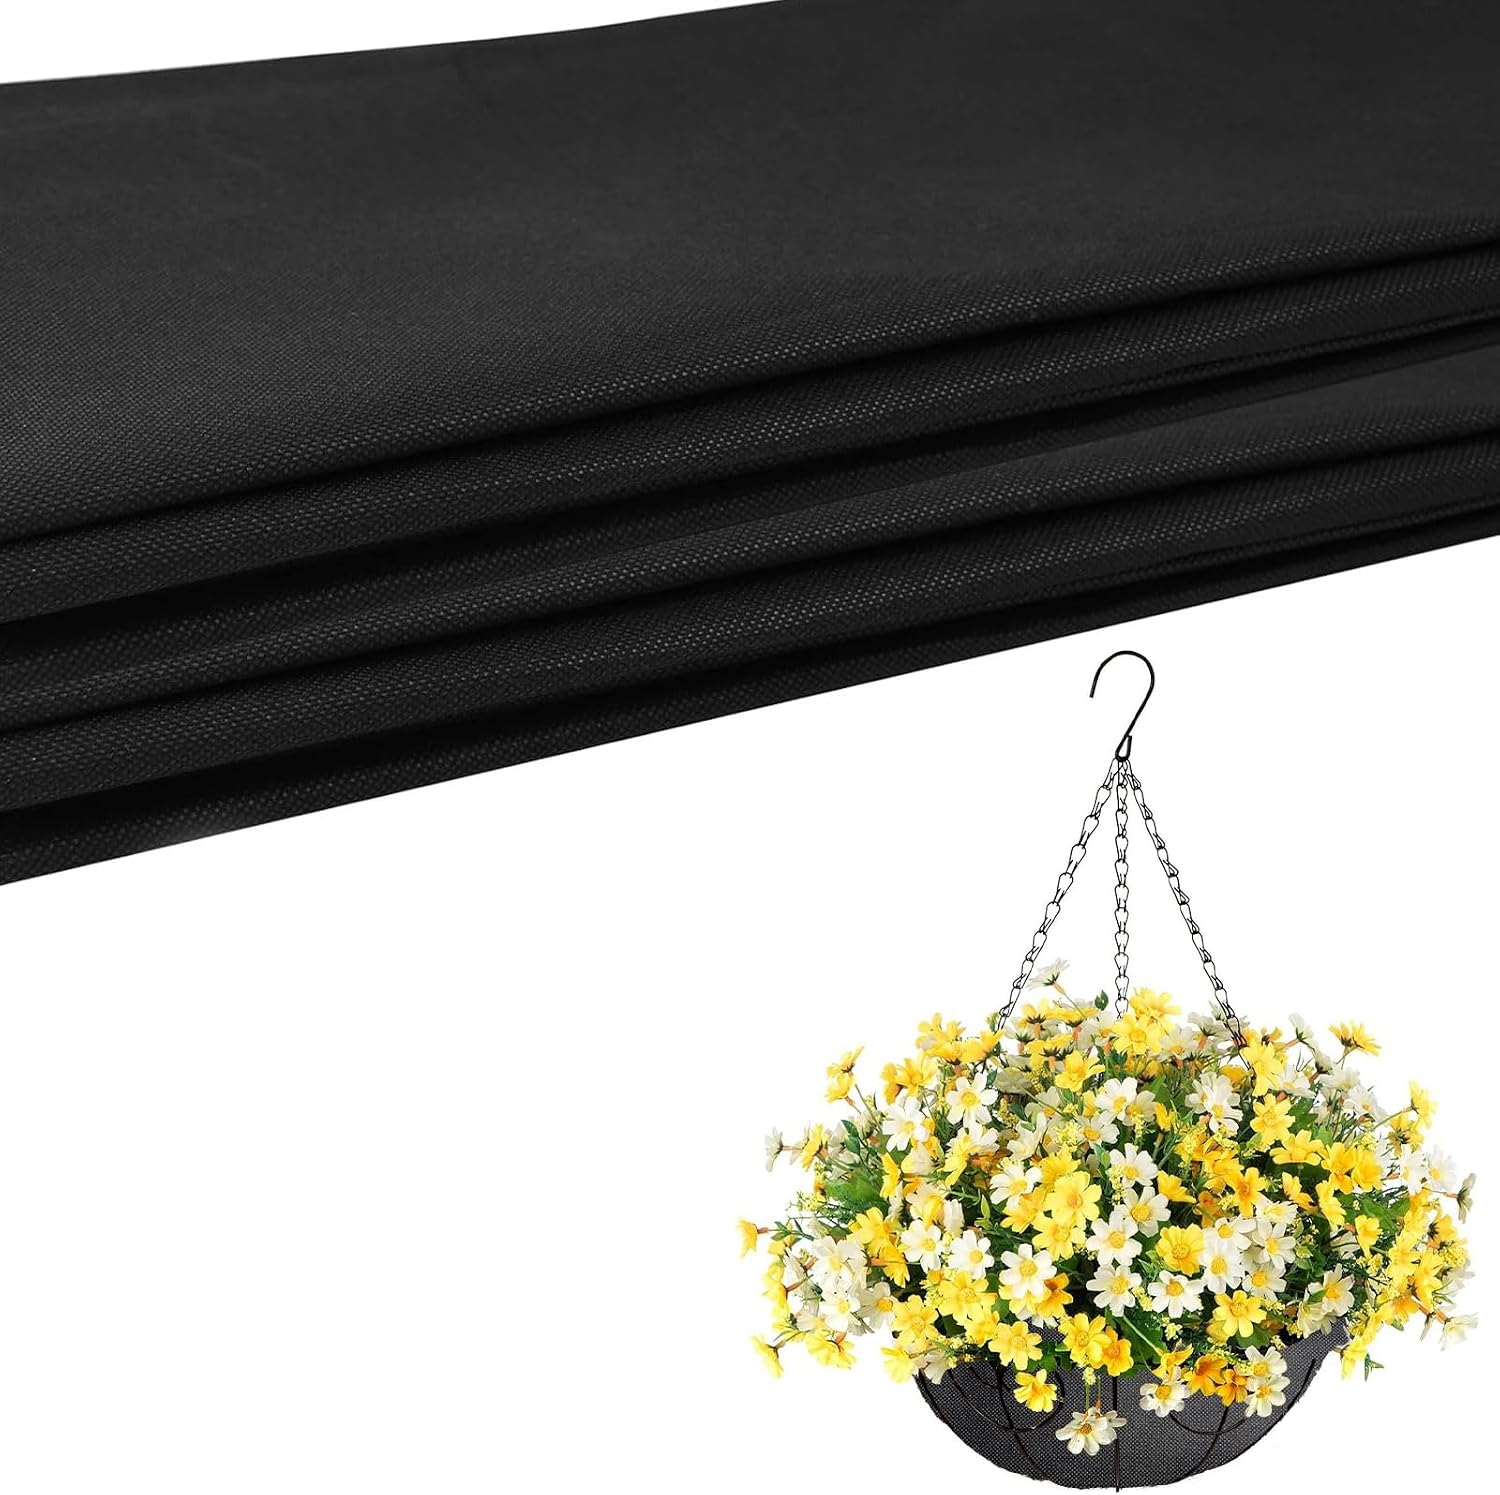
When selecting grow bags for seed starting, the material and size play crucial roles in your success. Non-woven fabric grow bags are a popular choice due to their breathability and ability to prevent root circling. For starting seeds, opt for smaller bags, typically around 6.29 inches high, which are perfect for young seedlings and can easily be moved as needed.
Additionally, consider the type of plants you intend to grow. Some plants, like tomatoes and peppers, require more space for root development. In contrast, leafy greens may thrive in smaller bags. Understanding the requirements of your plants will help you choose the appropriate size for optimal growth.
Preparing the Grow Bags
Before you start planting, it’s essential to prepare your grow bags properly. Begin by filling them with a high-quality seed starting mix, which is light and fluffy to encourage seedling growth. Ensure that the mix is free from large clumps and debris, as this can hinder root development.
Once filled, moisten the soil mix until it’s evenly damp but not soaking wet. Proper moisture levels are crucial for seed germination; too much moisture can lead to rot, while too little can prevent seeds from sprouting. After preparation, your grow bags will be ready for planting.
Planting Seeds in Grow Bags
When planting seeds in your grow bags, follow the recommended planting depth for each type of seed. Generally, larger seeds can be buried deeper than smaller seeds. A good rule of thumb is to plant seeds at a depth of two to three times their diameter.
Spacing is also important to ensure each seedling has enough room to grow. Overcrowding can lead to competition for nutrients and light, resulting in weaker plants. For guidance on spacing, refer to the seed packet instructions specific to each plant variety.
Watering Techniques
Watering is a critical component of seed starting in grow bags. The fabric material allows excess moisture to escape, but it can also dry out quickly, especially in warmer conditions. Keep a close eye on the moisture level, ensuring that the soil remains consistently damp but not waterlogged.
Use a gentle watering method, such as a watering can or a spray bottle, to avoid disturbing the seeds. Water at the base of the plants rather than from above to reduce the risk of fungal diseases. Adjust your watering routine based on the weather and the growth stage of your seedlings.
Providing Adequate Light
Light is vital for the healthy growth of seedlings. If you’re starting seeds indoors, consider placing your grow bags in a sunny location that receives at least six hours of sunlight per day. South-facing windows are generally the best option for maximum light exposure.
If natural light is limited, you may want to invest in grow lights. Position them a few inches above the seedlings and adjust the height as the plants grow. This will ensure they receive adequate light without becoming leggy or weak due to lack of sunlight.
Fertilizing Your Seedlings
Once your seeds have germinated and developed their first set of true leaves, it’s time to introduce them to fertilizers. Start with a diluted, balanced liquid fertilizer every two weeks to provide essential nutrients without overwhelming the young plants.
Always follow the instructions on the fertilizer package and avoid over-fertilizing, as this can lead to nutrient burn. Observing your seedlings’ growth will help you determine when they need additional nutrients or if adjustments are necessary.
Transplanting Seedlings
As your seedlings grow, they may eventually outgrow their grow bags. Transplanting into larger containers or directly into the garden is a natural progression. Choose a day that is mild to reduce transplant shock, and water your seedlings thoroughly before moving them.
Gently remove the seedlings from the grow bag, taking care to disturb the roots as little as possible. Transplant them into larger bags or garden beds, ensuring the planting depth remains consistent with what the seedlings were growing in previously to prevent stress.
Common Challenges and Solutions
Here are some common issues you may encounter when using grow bags:
- Overwatering: Monitor moisture levels closely and allow the top inch of soil to dry out between waterings.
- Pest Problems: Keep an eye out for common pests like aphids. Introduce beneficial insects or use organic pesticides as needed.
- Weak Seedlings: Ensure they receive enough light and nutrients. Adjust watering and fertilization as necessary.
Addressing these challenges promptly can help you maintain healthy seedlings throughout the growing season. Being proactive and observant will pay off in the long run.
Where to Start
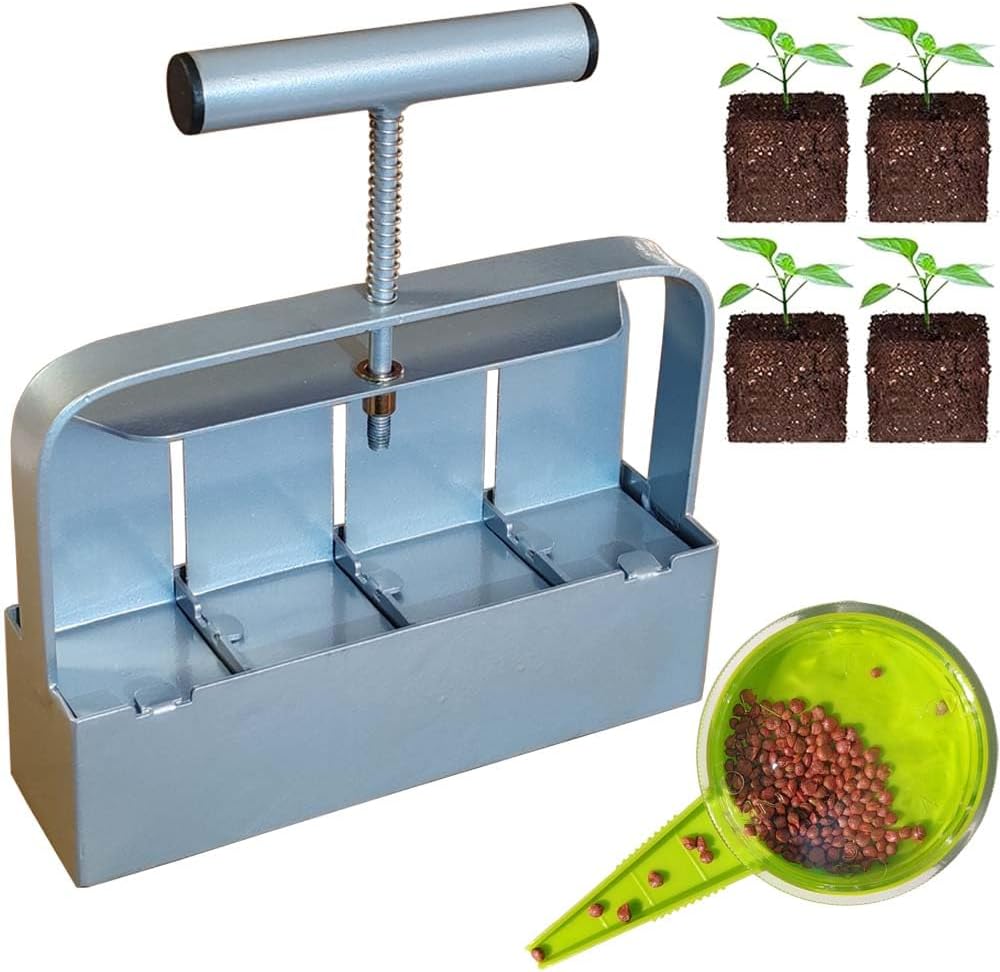
To effectively start seeds in grow bags, begin by gathering all necessary supplies. This includes quality seed starting mix, seed packets, grow bags, and any tools you might need like a soil block maker for precise planting. Having everything ready will streamline the process and make seed starting enjoyable.
At Mangone's Garden Center, we offer a range of grow bags and seed starting supplies to equip you for success. Visit us to explore our selection and get expert advice to ensure your gardening journey begins on the right foot.
From our shelves
- 2 Inch 4-Cell Handheld Heavy Duty Soil Block Maker for Seed Starting
- 100pcs Nursery Plant Grow Bags, 6.29" H Deep Non-Woven Fabric Seedlings Growing Bags
Browse the Grow Bags and Seed Starting range, or see everything in stock. Questions about what suits your setup? Talk to us or read the FAQ.